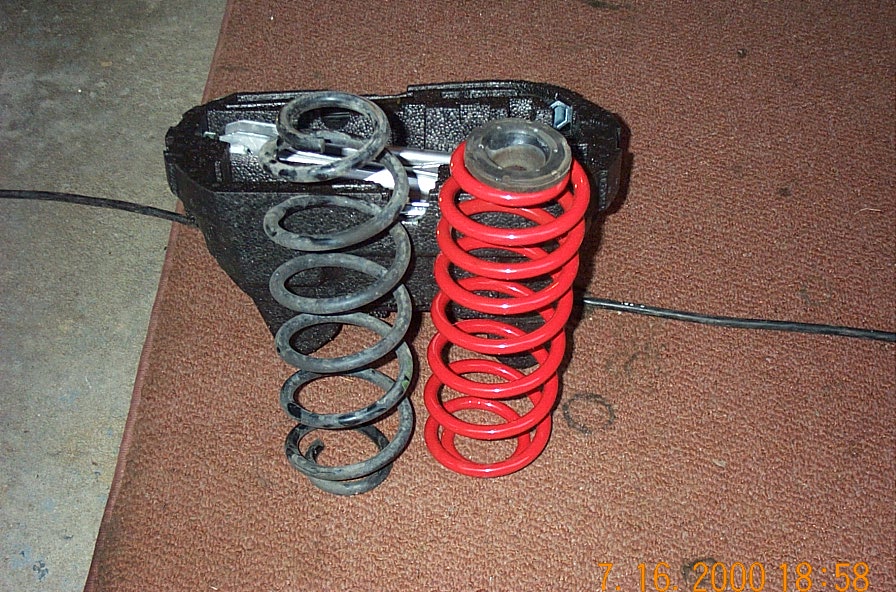
Springs - H&R 1.5" drop
Shocks - Bilsteins
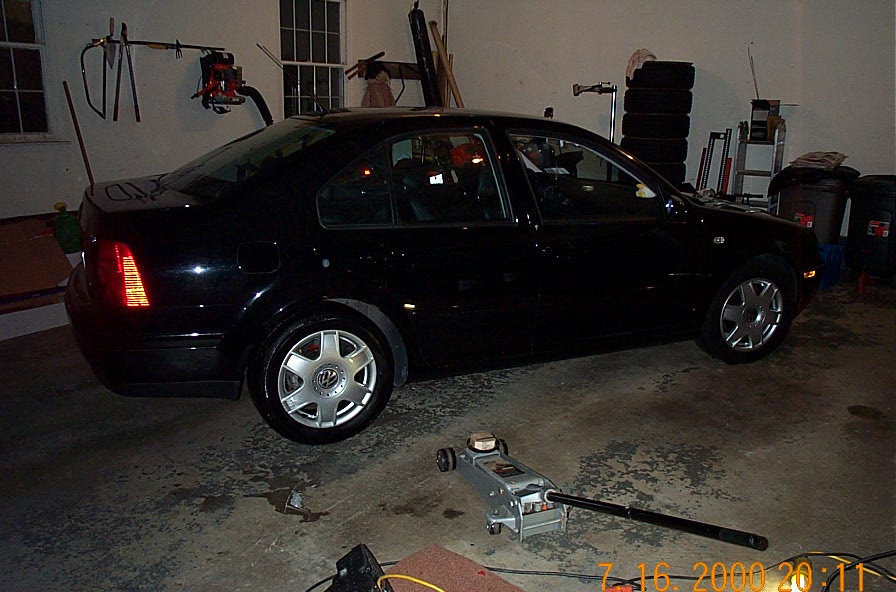
We started by jacking the car up with two 3 ton jacks. If you have jack stands they would work too. Its helpful to have a smaller jack available later on. Like a 2 ton or a bottle jack.
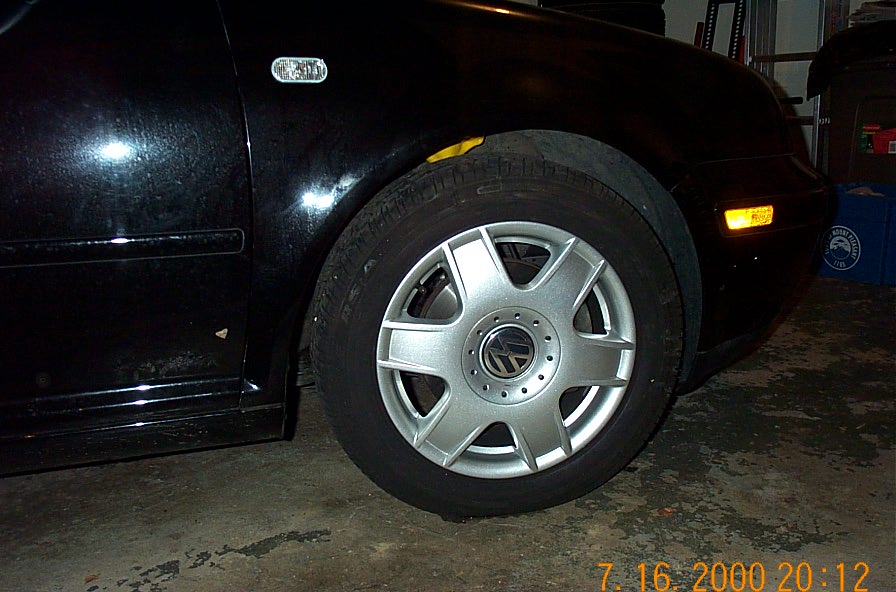
Next step is to take the wheels off, duh. Remember to mark and label everything, and put the right wheel back in the right place. You might want to clean your wheels while they're off. Now from here you can do a couple of things. We took the top strut bolts off first but it might be easier to leave them on and work with loosening the lower strut spindle. If you are doing this alone then definitely go this route. Otherwise if you did it like me you'll need 2 people to get the strut out of the spindle. This is the most difficult part of the whole installation, installing and removing the front strut out of the spindle. The only advantage I see with removing the top strut is that you are able to twist the strut left and right a bit to twist it out.
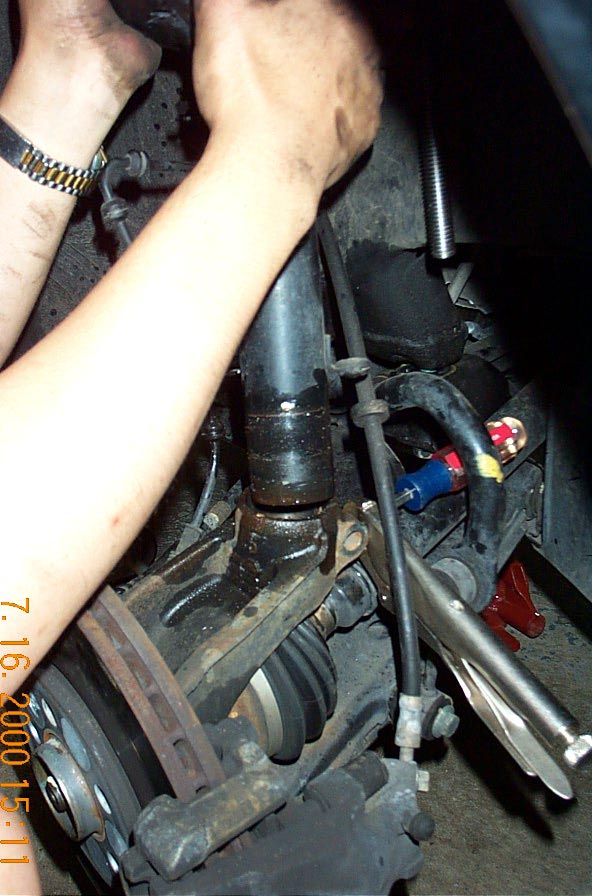
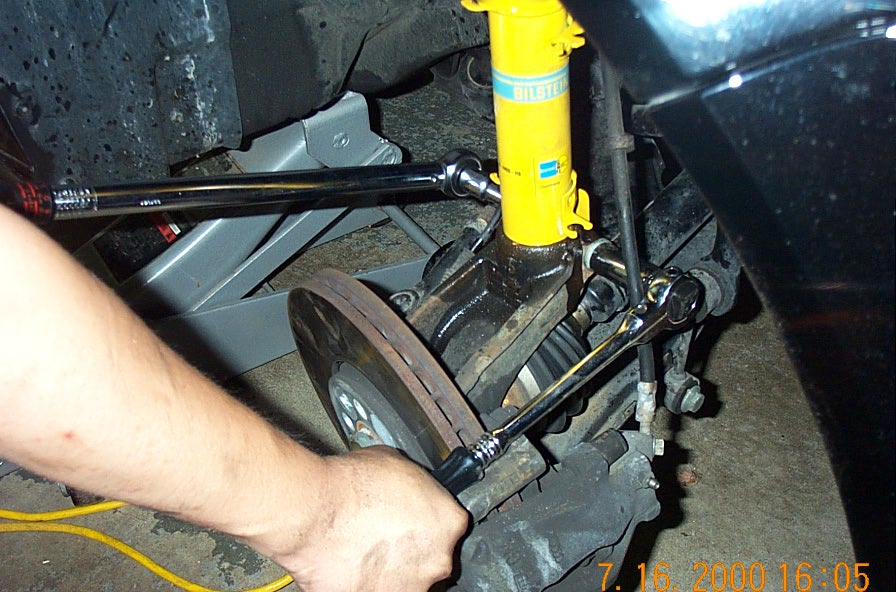
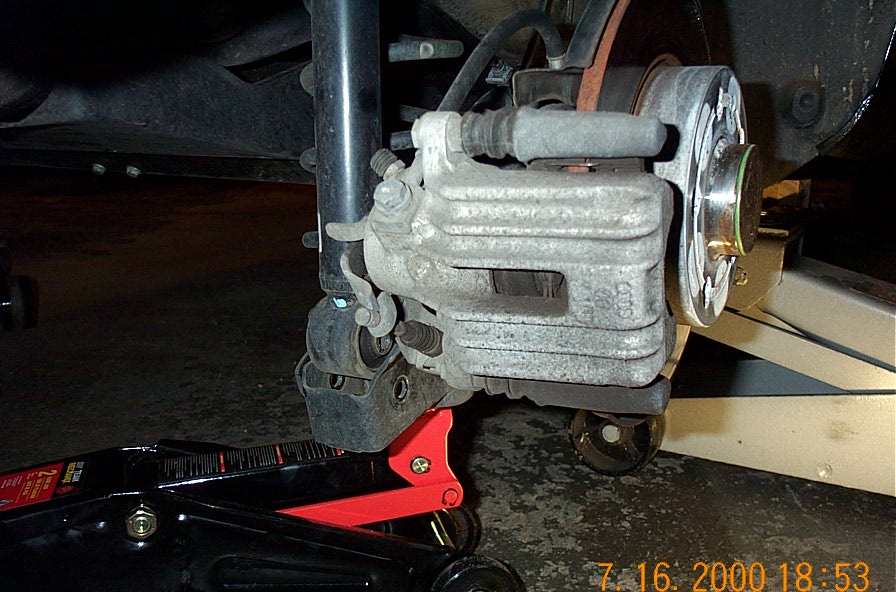
The strut is tighten onto the lower spindle with a 18mm bolt and nut. Remove this.
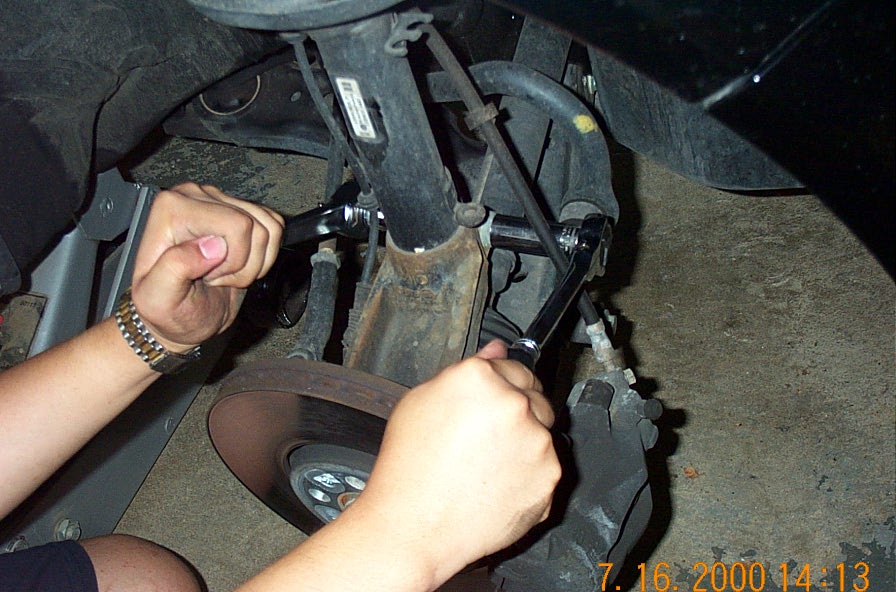
VW uses a "specialty tool" to loosen the spindle from the strut. They say you can use a screw driver but we had a tough time using that alone. We even had a crow bar in there :). Click here to see the tools.
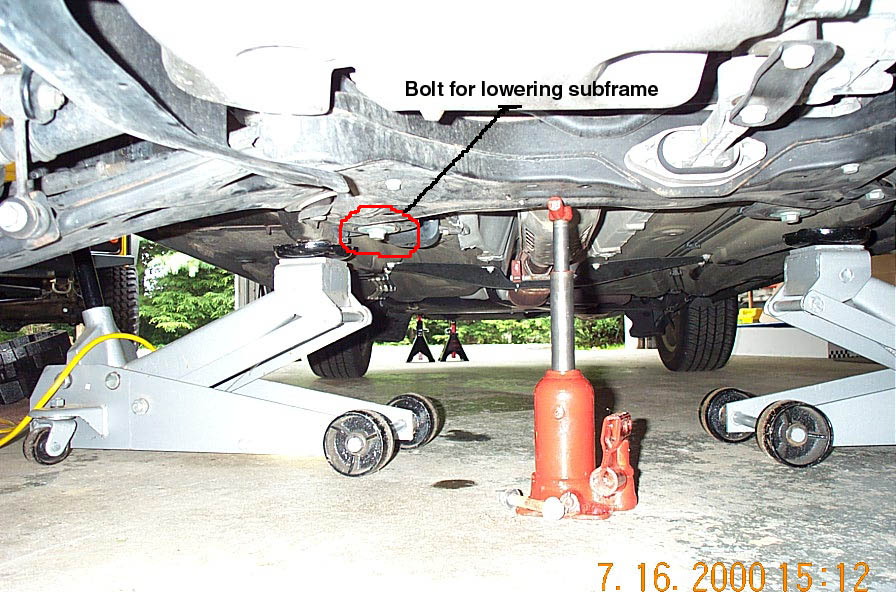
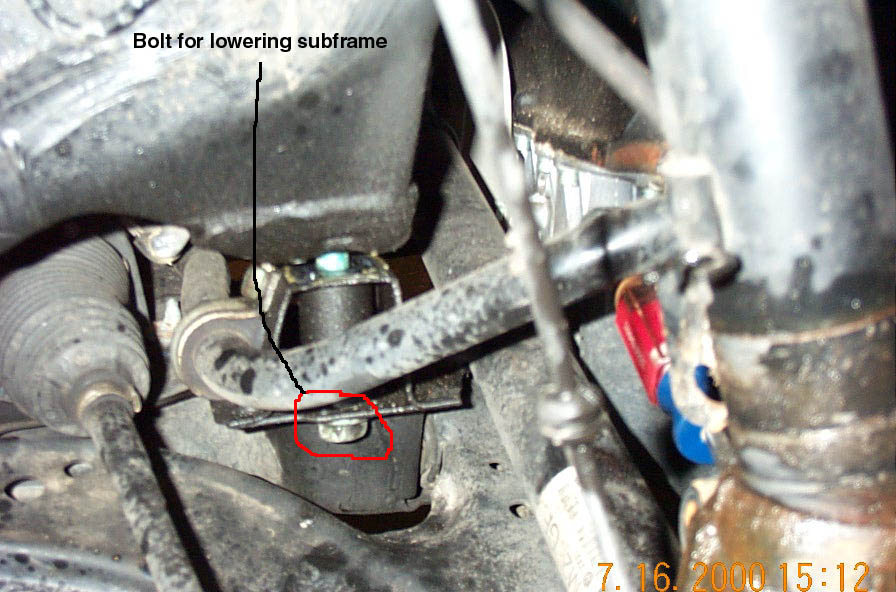
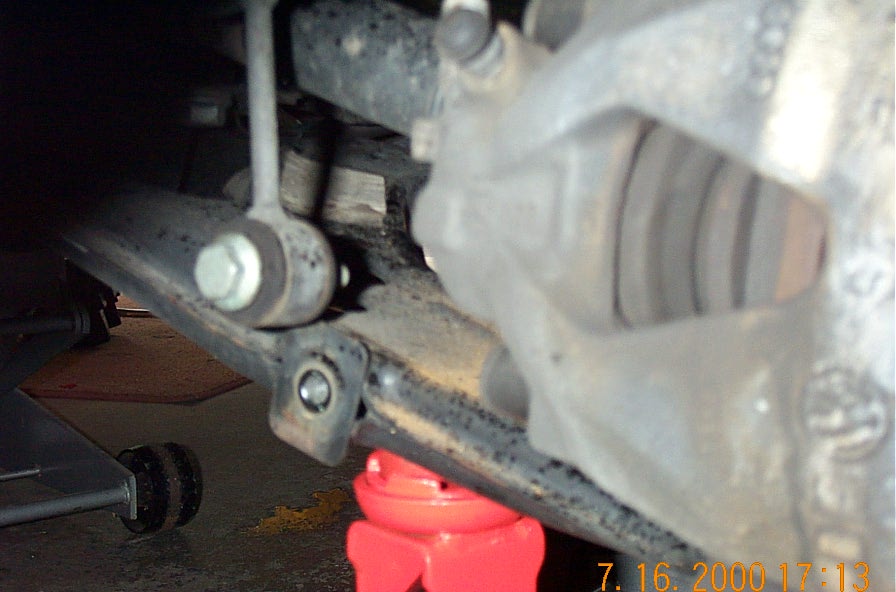
We started on the right front. To loosen the strut from the spindle you'll need to lower the subframe on the right side. Otherwise you won't have enough travel to take the strut out. There are 2 bolts to loosen the sub frame and there's also a torx screw, although I forget the size. You don't need to take the bolt all the way out. In fact I recommend against it. Just loosen the bolt down about an inch or so but leave some thread still biting. You might want to use that extra jack now to hold the subframe while you loosen the bolts and then lower the subframe with the jack.
After you get the subframe down a bit you can now take out the strut.

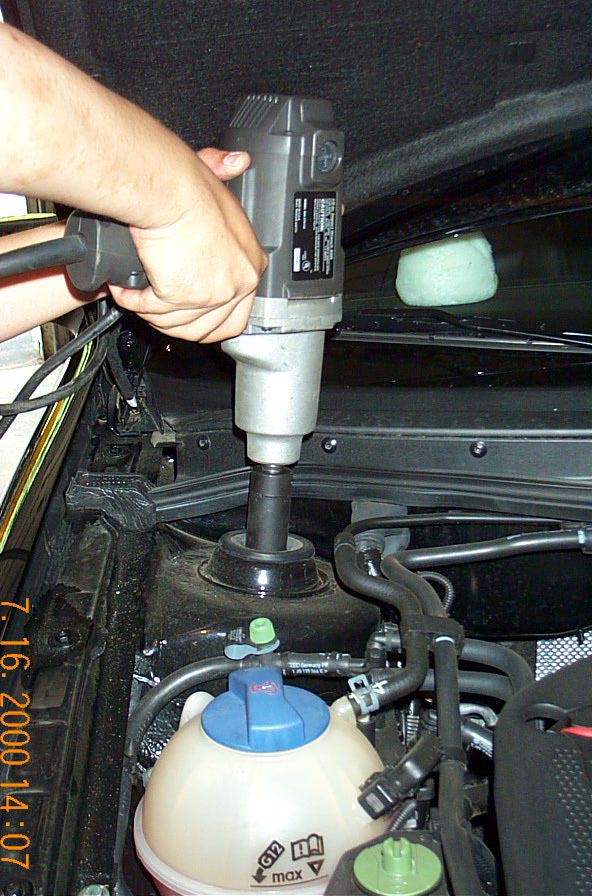
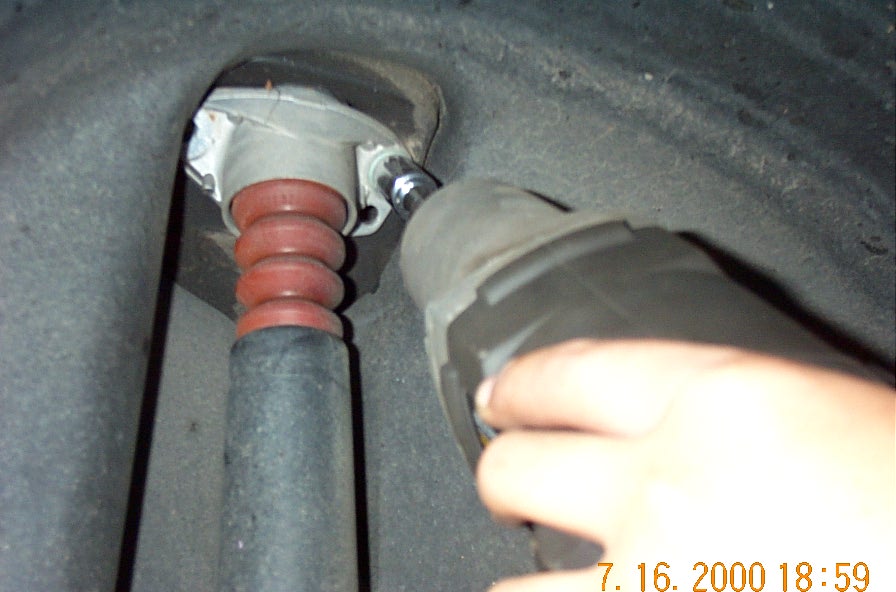
Well if you haven't removed the top strut bolt do so now. Its a 21mm bolt. If you pop the hood you'll see this little cap where the struts seat and just pull the cap off. Then take an impact wrench to the top strut bolt. (Much easier with the impact tool).

Viola! Strut number 1 is out.
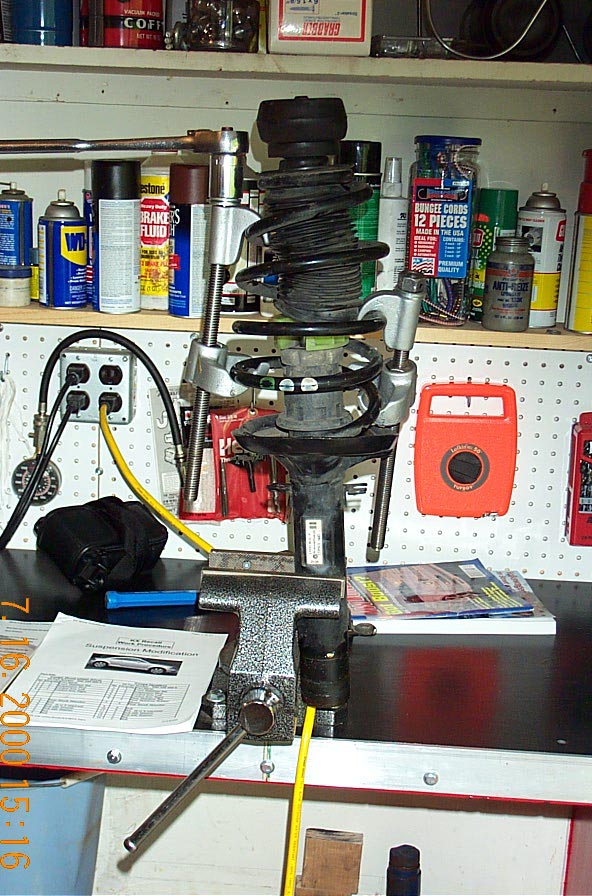
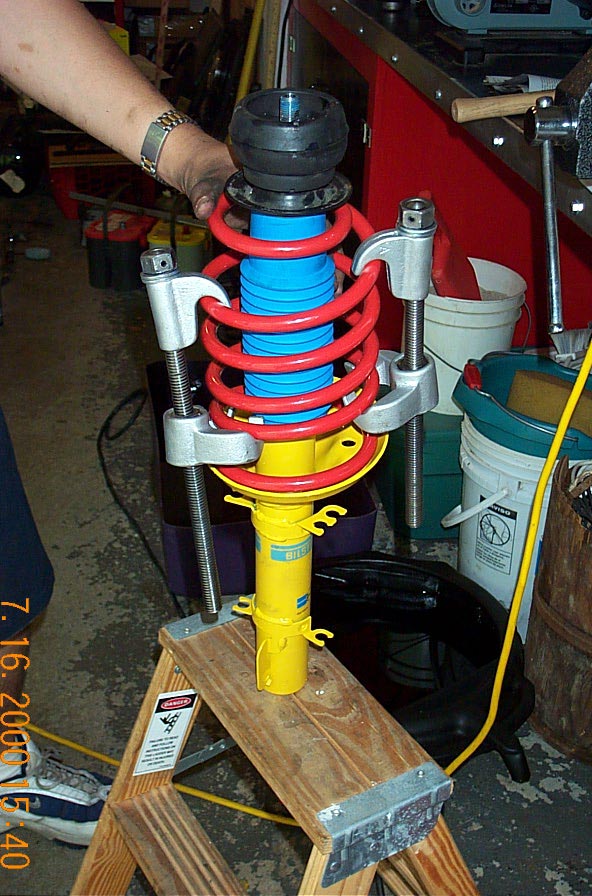
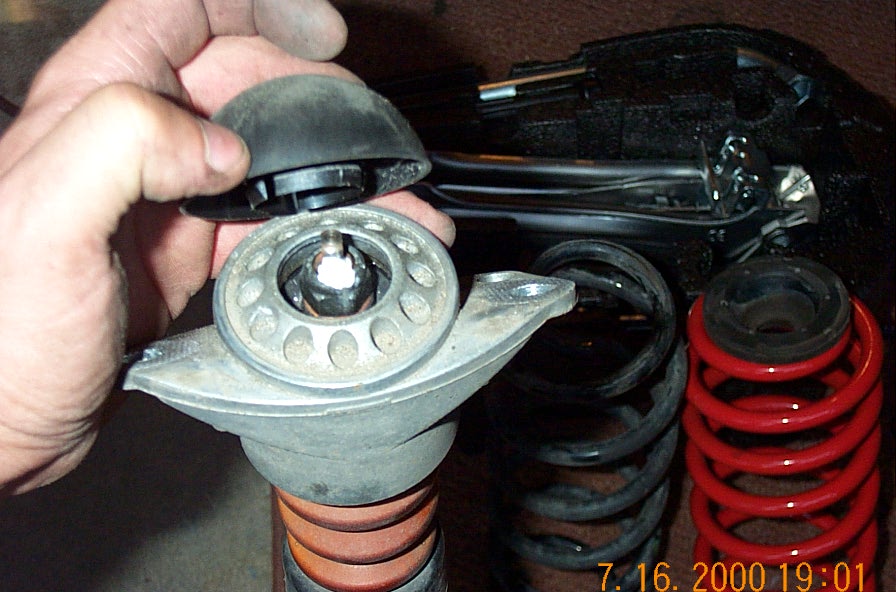
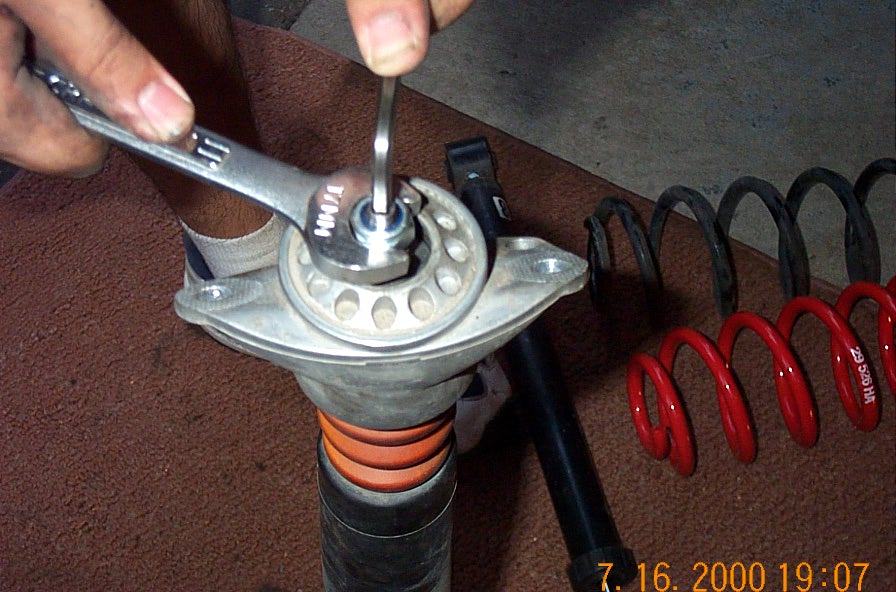
Use a spring compressor to compress the springs. You can rent these at Pepboys or some other automotive store if you don't have them. Then take the top bolt off. Again the the impact wrench is a must here. Keep the top bushings and hardware in order because you will need to reuse them on the new setup.
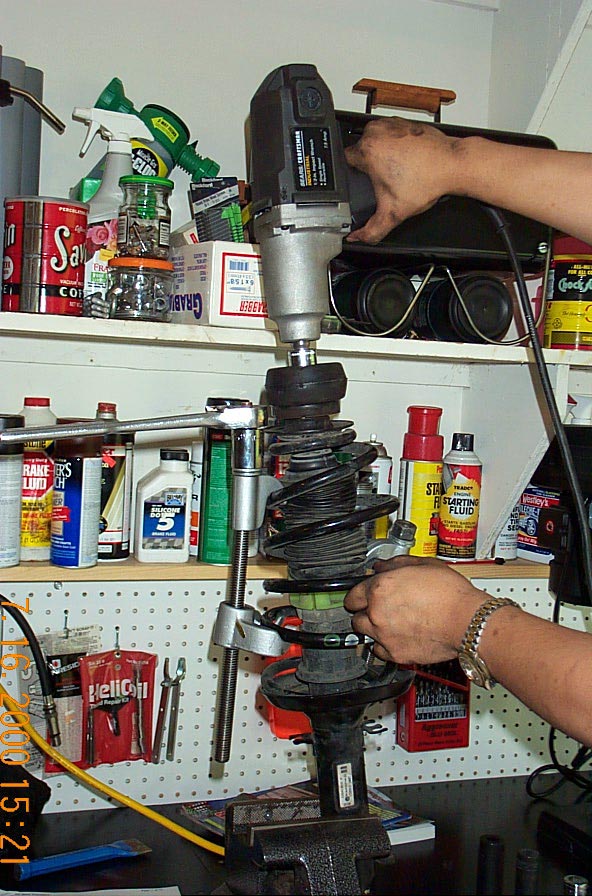
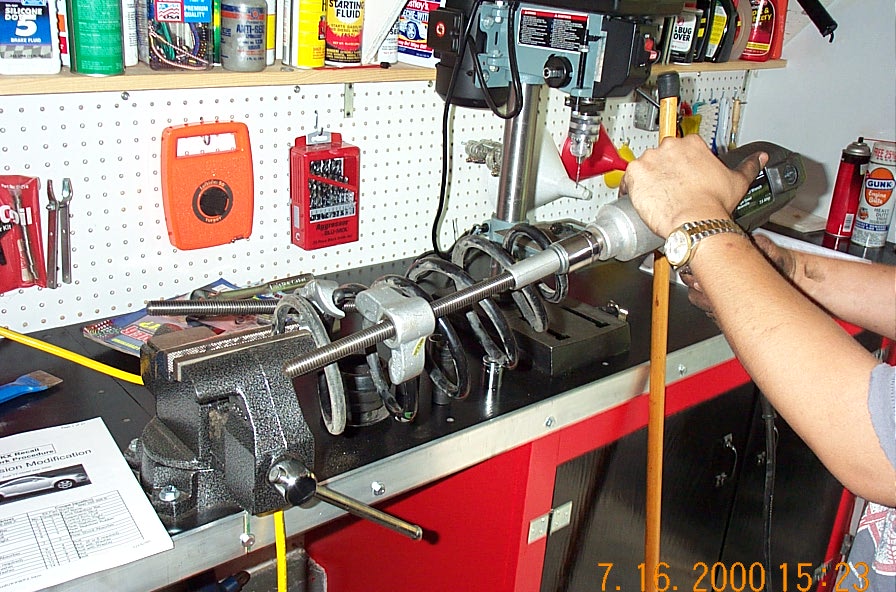
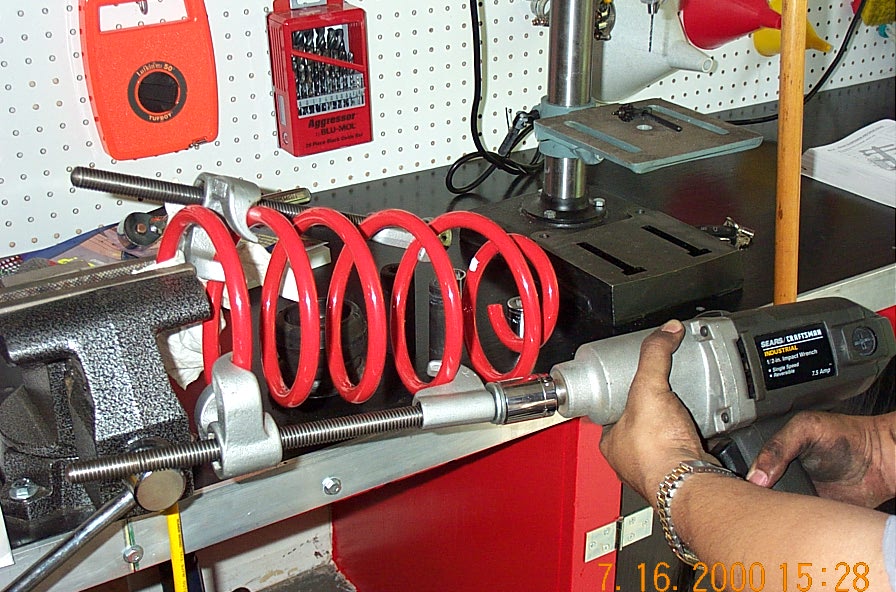
Reinstall the new springs onto the new strut in reverse order.
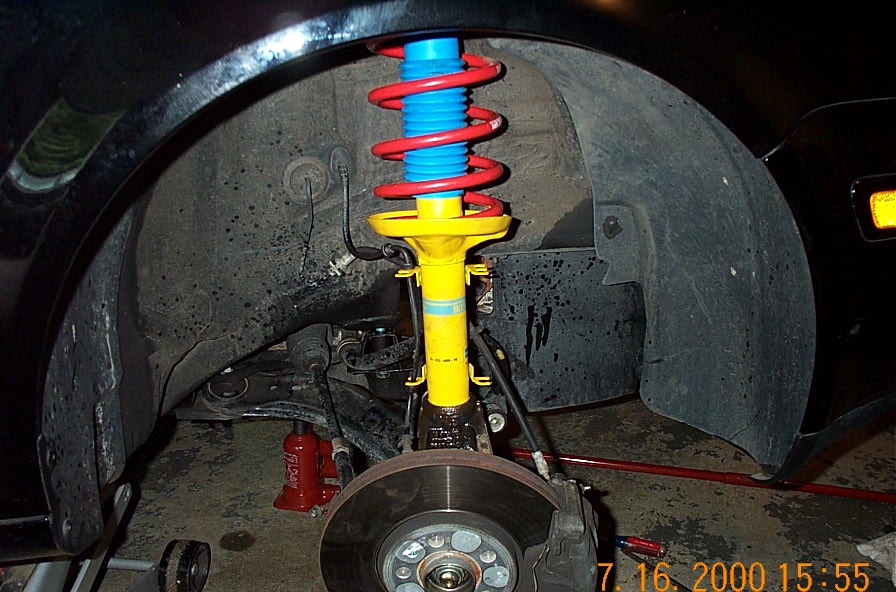
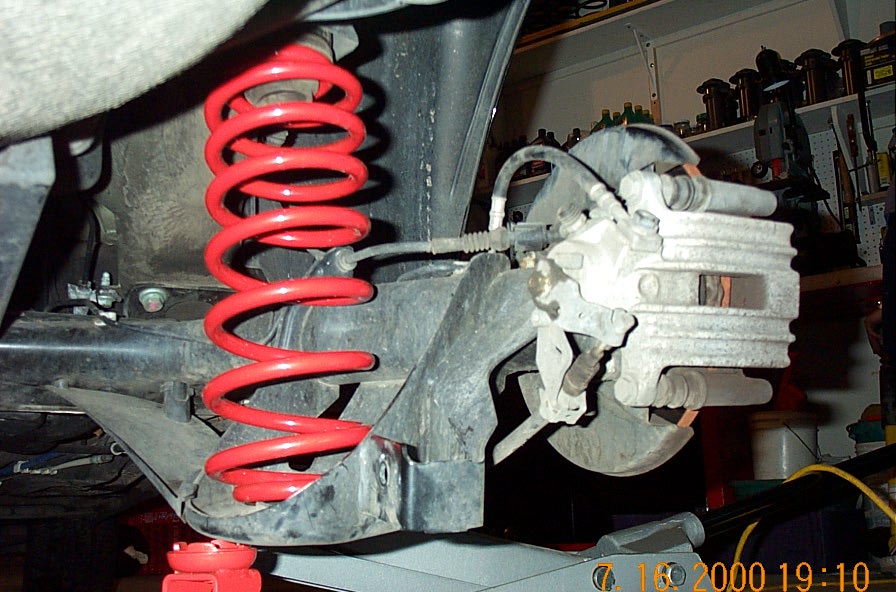
When you put it back in tighten the bolt on the lower and upper strut bolt to 44ft lbs plus 90 degree turn. Don't use the impact wrench to put nuts back on, I made the mistake of doing that :). Always tighten by hand. You might want to use a jack to help you lift the entire assembly to put on the top bolt. And don't forget to tighten up the subframe again. Subframe bolts are 74ftlbs plus 90 degrees after alignment.

Well there you go. The left side front is the same process except that you don't need to need to lower the subframe on that side. Although what we did have to do is disconnect the antisway bar. Again we used a jack to hold up the assembly before we took the bolt off.
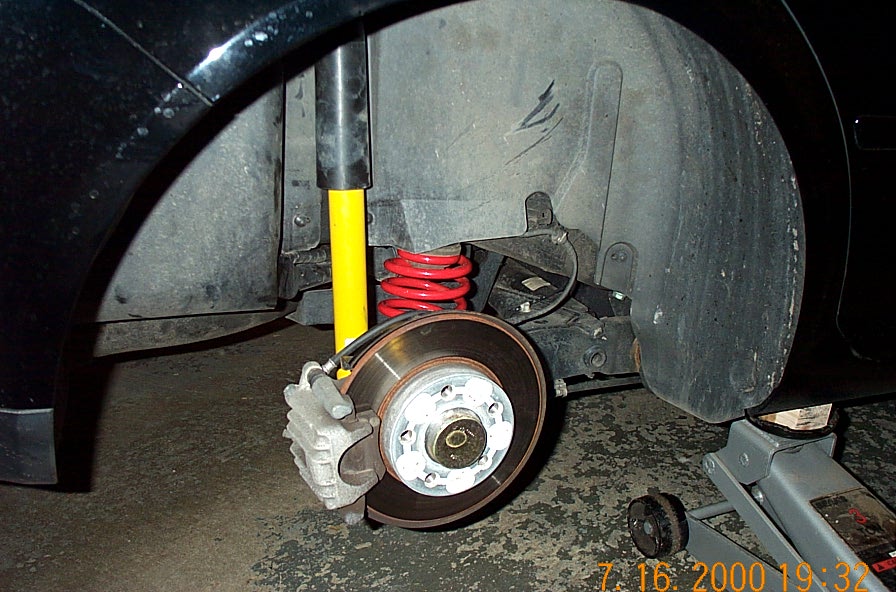
Last thing to do is put the tires back on and lower the car.....slowly. Now that the hard part is over we can get to work on the rear suspension. Compared to the front the rears are cake. Again jack up the rear and remove the tires.

Once the tires are removed you'll see how easy the setup is. Take off the bolts holding the lower shocks, these are 16mm. Use that jack again to hold the assembly up. It'll be useful for when you install the new shocks too.
After its out you can lower the jack and take out the springs. A little prying might be involved here. I don't know if this is absolutely necessary but we lined up the end of the bottom part of the spring the same way the stock springs are. I just noticed that the end of the springs on the bottom of both sides pointed out. So when we installed the new springs we did the same thing. Transfer the bushing and line it up with the new spring.
After that's out we removed the top shock from the fender walls. Again the impact wrench was put to use. These are 16mm's also.
Now that the shocks are out just remove the top mount so we can put them on the new shocks. The impact wrench was ok to take the nut off but when you put the mount on the new shocks you need to use an open end wrench and an allen wrench to hold the assembly while you tighten the nut.
The new springs should go back in very easily since they are shorter then the stock ones. Then just rebolt the struts back on top and use a jack to raise the lower assembly to line it up with the bottom of the shock and just put all the nuts and bolts back on. Top and lower struts torque to 44lbft.
Well do the same for the other side and then slap your wheels back on. There you have it. Your car looks and handles much better then before. Make sure you get and alignment when you're done. Then go and "test" out your new setup. I like mine very much and I'm sure you will too.